So you have bought your shiny new bushcraft saw and been out with it a couple of times, and it’s not looking quite so bright anymore, so you’re looking for a guide on cleaning a bushcraft saw. Well, here it is below we will go over six tips for cleaning a bushcraft saw and bringing it back to life.
What Do I Need for Cleaning a Bushcraft Saw?
There are no requirements for fancy tools here, this is a simple task and as such requires simple tools. you may already have some to hand but if not here you go. So what will we need?. Below I will link to items used on amazon!
-
- Two or three clean cloths
- A solvent I recommend mineral spirits (methylated spirits) same as we use in our alcohol stoves
- A stiff bristle brush something like a nail brush
- A brass bristle wire brush for more stubborn resins( brass should not mark the steel on your blade)


- Your oil of choice mine is Ballistol check it out here


A Quick Fix!
In the field, a quick fix for cleaning a bushcraft saw blade can be just to cut a different type of wood and preferably something drier. Doing this can get you going again quickly out in the field where a full clean may be off the cards.
Why Do We Need to Clean Our Bushcraft Saw
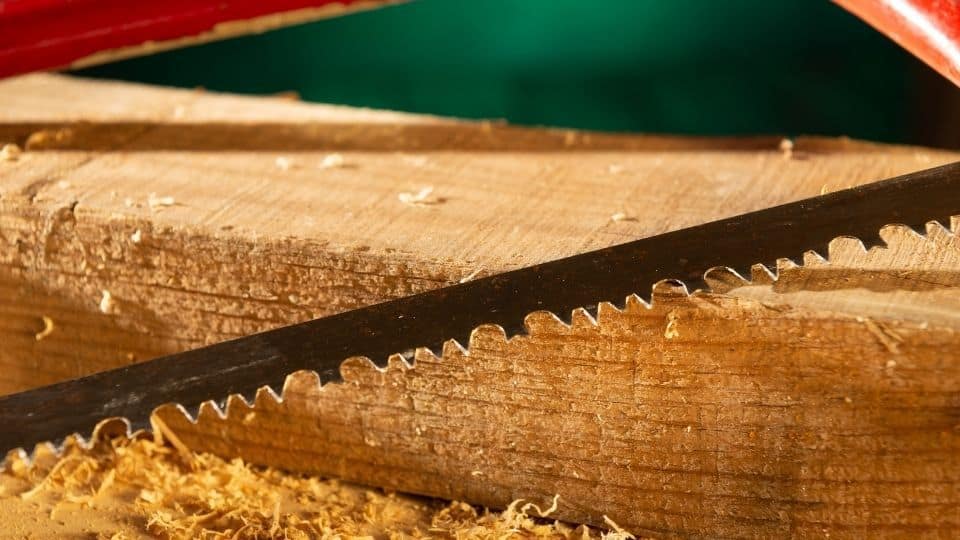
Our saws can take quite a beating when we are out doing our thing in the woods. As such when we are preparing wood we may end up with the teeth of the saw getting clogged up with wood chips but not only that, wood contains resins or sap (pines are the worst for this) and as such the resins mix with the wood chips like glue and can make a good saw struggle to cut even the softest of woods.
Resins can also stick to the sides of our saws, making them hard to push through the wood again the resins acting like glue and causing the saw to bind up in the wood. So on that note, it’s time to get into cleaning a bushcraft saw.
Ok, Let’s Tackle the Sides of the Saw Blade First
As mentioned above the sides of the saw may get covered in resin and overtime as it hardens it can build up in layers. So we need a solvent to soften it up a bit so we can remove it. For this, I would recommend something like mineral spirits.
Before starting, I would recommend taping up the teeth of your saw with some thick tape such as electricians tape to prevent injury as we will be wiping the sides of the saw with a cloth.
Ok, apply your solvent of choice to a cloth and apply it to the saw, get plenty on the sides and allow it to soak for 5-10 minutes. Now begin to rub away the resin hopefully you will get away with one application but if needed, repeat as needed. If it’s stubborn, you can use a stiff plastic scrubbing brush to help it along.
If more agitation is necessary, go for a brass bristle wire brush with gentle pressure so as not to mark your steel (not recommended for coated or painted blades are you will remove the coating)
Cleaning Your Teeth!
When you’re cleaning a bushcraft saw it’s best to tackle it in stages, so here we are onto the teeth. If you are following on from above it’s not time to remove the tape from the teeth and again get busy with that solvent apply plenty here and still allow it to soak for 5-10 minutes.
Now I would recommend you put on a good sturdy pair of gloves as we are going to be using a stiff brush to clean the teeth out.
Start by laying the blade down flat on its side on a table, make sure to cover the table or do this where you don’t mind some damage as the teeth can catch the work surface and mark it and also the solvents may remove / damage coatings.
Now take your stiff brush and press it down into the teeth and pull away from the blade and you should start to see some chips coming loose, flip the blade and do this on both sides to get into the different angles of the teeth.
You can go ahead and add more solvent if needed and allow to soak again and repeat; this is the safes method. Another method is to hang the edge of the blade off the side of your table and run the brush through it, and please make sure to have gloves on for this method as it’s very easy to cut yourself. Again if needed, you can resort to the brass bristle wire brush here.
Ok, It’s Time for a Wipe Down
Now we have the resin removed, and the teeth cleaned out. It’s time for a full wipe down of the blade. Again take some of your solvents on a cloth and wipe the whole blade down, including the handle. Doing this will remove any traces of resins that may have made their way onto the handle from your hands where you have been handling the wood and make sure your saw is thoroughly clean before the next step.
So That’s Your Saw Clean, but Now It’s Time for Some Protection
Straight forward step this one take your favorite oil mine is ballistol check it out here been using this stuff for years on all my knives, saws, airguns and even garage tools, I am yet to find anything better it has so many uses check them out here.
Anyway take a clean cloth and dry your saw of any solvents that may be remaining. Now take another clean cloth and apply your oil of choice (ballistol) to the cloth no need for massive amounts here we are just going for a fine film coating we don’t want the saw dripping in oil.
If you do go ahead and get some ballistol, you can go ahead and use it on your handle too as it helps to preserve rubber. Next place a few drops around the pivot joint of the saw if it’s a folding bushcraft saw and also if you have a locking mechanism apply some to that too.
Wrap It Up
Ok so we have gone over cleaning a bushcraft saw its quite a simple, quick process but one that may need doing from time to time. My best advice would be to keep on top of it and try to clean it after every second trip, just a quick wipe down is often fine unless you notice it needs more that way your bushcraft saw is always in tip-top condition and ready for your next trip.


